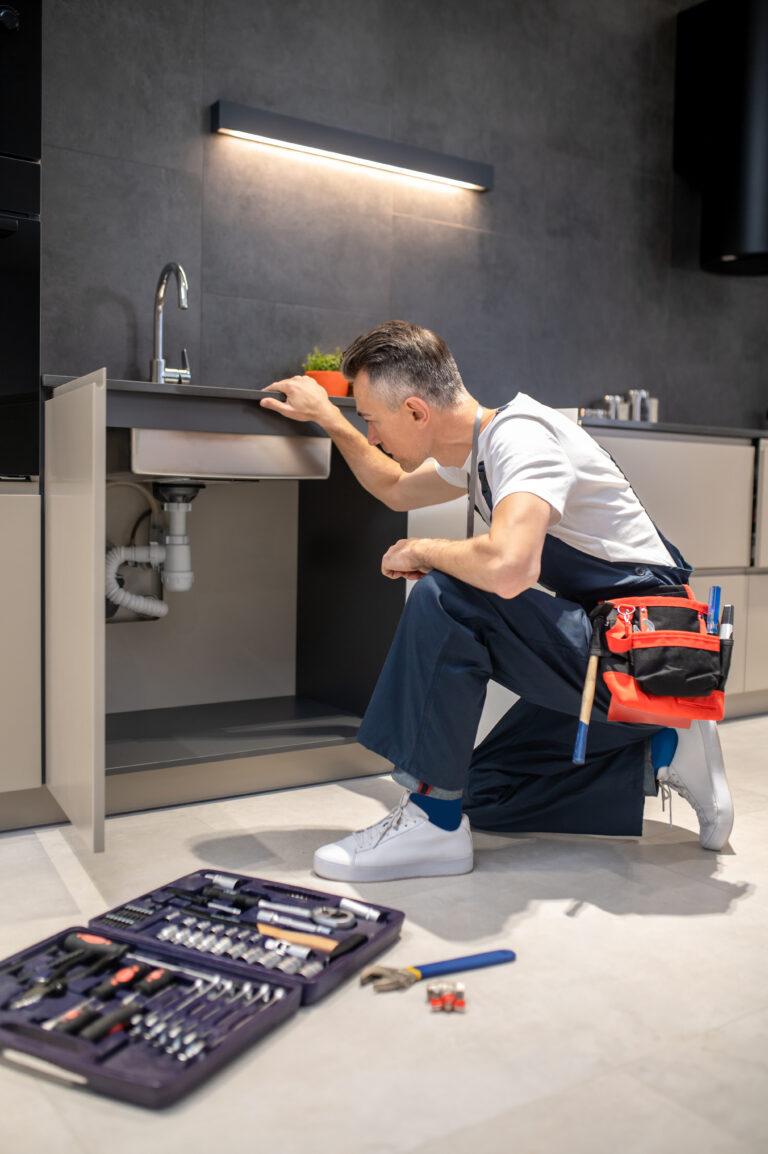
How Do You Fix Copper Pipes?
Copper pipes are a popular choice for plumbing systems due to their corrosion resistance and longevity. But, just like any other material, they are susceptible to wear and tear over time and can develop leaks. Fortunately, repairing copper pipes is a relatively straightforward process that requires basic tools and materials. This guide will explain how to fix copper pipes, from simple patching to full-on replacement. With the right preparation and knowledge, you can easily restore your copper pipes to their former glory.
Understanding the Basics of Copper Pipe Repair
Copper pipes are a popular choice for plumbers, due to their durability and relatively low cost. However, over time, they can become corroded or damaged, requiring repair or replacement. Knowing the basics of copper pipe repair can help you save money and get the job done right.
First, it’s important to understand the different types of copper pipes. Pipes come in three grades: Type M, Type L, and Type K. Type M is the thinnest and is primarily used for indoor plumbing, while Type L is thicker and used for outdoor plumbing. Type K is the thickest grade and is used for underground plumbing.
Once you know the type of pipe, you can begin assessing the damage. If it’s a small leak, you may be able to fix it with a patch or sealant. If the pipe is more severely damaged, you’ll need to cut out the affected area and replace it with a new section.
When replacing a section of copper pipe, you’ll need to carefully measure and cut it to the correct size. It’s important to use a cutting tool specifically designed for copper piping. If the pipe is bent or corroded, you’ll likely need specialized tools to make the repair.
Finally, make sure you use the correct fittings and solder for the job. Soldering copper pipe requires a torch, flux, and solder, all of which you can find at your local hardware store. If you’re not comfortable doing the job yourself, it’s best to hire a professional plumber.
Copper pipe repair can seem intimidating, but with the right tools and knowledge, it can be done quickly and easily. Knowing the basics of copper pipe repair can help you save money and get the job done right.
Identifying the Problem with Copper Pipes
When it comes to copper pipes, identifying the problem can be the most challenging part. Copper piping is a reliable and durable material, but occasionally it can fail and require repairs or replacement. Knowing what to look for and how to diagnose a copper pipe issue is essential for any homeowner or property manager.
The most common issues with copper pipes include corrosion, leaks, and clogs. Corrosion of copper pipes can occur over time due to acidic water, and results in a greenish-black discoloration of the pipe. Leaks are typically caused by a loose connection, cracked pipe, or corrosion. Clogs can be caused by mineral deposits, debris, or other buildup.
To identify the problem with copper pipes, it is important to inspect the entire system, including any fittings, valves, and connections. If corrosion is the issue, it typically affects the entire pipe, rather than just a single connection or joint. If the pipes are leaking, it is important to identify the source of the leak. Leaks can occur at any connection or joint, or they can occur within the piping itself. It is also important to note if the issue is only present in a single faucet or fixture, or if it is occurring throughout the entire plumbing system.
By inspecting the copper pipes and analyzing the issue, it is possible to identify the underlying problem and determine the best course of action. This could include repairs, replacements, or other maintenance measures. Knowing how to spot a problem and diagnose the issue is essential for any homeowner or property manager.
Preparing for Copper Pipe Repair
Copper pipe repair is a common yet complex task that requires the right tools, materials, and expertise. Before attempting the repair, homeowners should assess the issue and gather the necessary materials. It’s important to note that copper pipes can corrode over time, making them more difficult to repair. To ensure a successful repair, it’s important to prepare before attempting the repair.
The first step is to identify the exact location of the copper pipe that needs to be repaired. If possible, visually inspect the pipe to check for corrosion and any loose fittings. If corrosion is found, it’s important to remove the corrosion before beginning the repair. This can be done using a wire brush and a chemical cleaner.
Next, it’s important to gather the necessary supplies. This includes a hacksaw, pipe cutters, a propane torch, flux, solder, and a variety of copper fittings. A drain snake, a clamp, and a bucket may also be needed, depending on the extent of the repair.
Finally, it’s important to turn off the main water valve before beginning the repair. This will ensure that no water is leaking during the repair process. If the repair process involves draining the pipes, it’s important to collect the water in a bucket or drain it to a separate location.
By properly preparing for copper pipe repair, homeowners can ensure that their repair is successful and that their pipes remain in good condition. With the right tools and materials, most copper pipe repairs can be completed safely and efficiently.
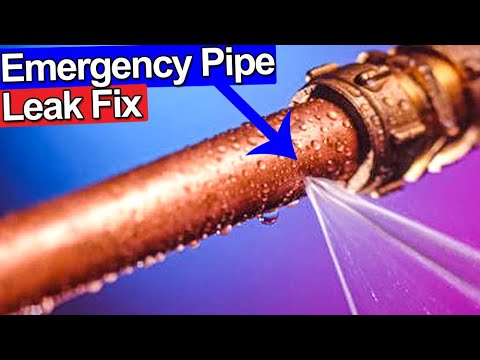
Repairing a Leak in a Copper Pipe
Copper pipes are a common material used for plumbing systems in homes. While they are durable and reliable, sometimes they develop a leak. This can be caused by wear and tear, corrosion, or damage from freezing temperatures. Fortunately, fixing a leak in a copper pipe is relatively easy and can be done with the right tools and supplies.
The first step is to identify the source of the leak. If the leak is coming from a corroded joint, it must be cut out and re-soldered. To do this, you’ll need a pipe cutter or hacksaw and a soldering torch. You’ll also need to purchase solder and flux, which can be found at any hardware store. Once the joint is cut, clean the inside of the pipe and sand the outside to remove any rust. Then, apply flux to both the inside of the pipe and the end of the fitting. After that, heat the joint with the torch and apply the solder until the joint is sealed.
If the leak is coming from a hole in the pipe, the easiest fix is to use a patch. You’ll need to purchase a patch kit that includes a piece of rubber or plastic and adhesive. Apply the adhesive to the patch, then place the patch over the hole and press firmly. Make sure that the patch is firmly sealed to the pipe and let it dry for at least 12 hours.
Repairing a leak in a copper pipe may seem intimidating, but it is actually quite simple. With the right tools and supplies, you can save yourself time and money by doing it yourself.
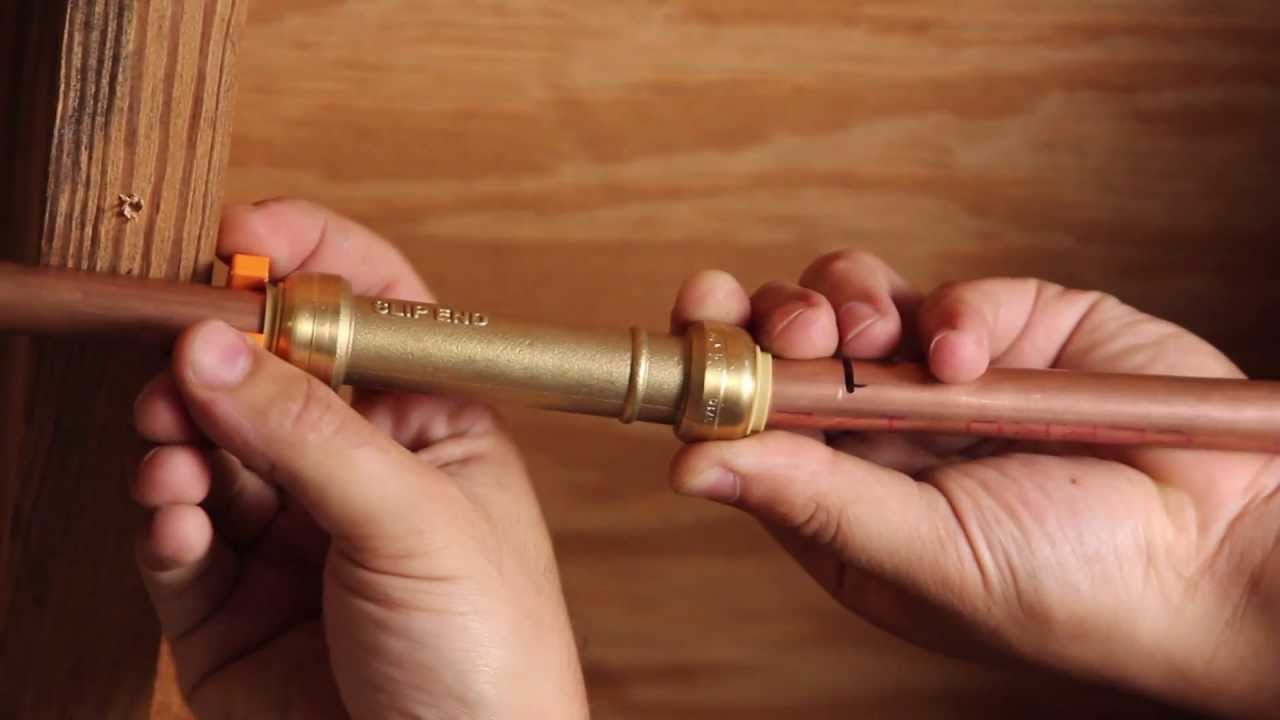
Repairing a Severed Copper Pipe
When it comes to fixing copper pipes, one of the most common repairs is reattaching a severed copper pipe. The first step is to ensure that the pipe has been completely severed. If there are any remaining pieces, they must be removed. Once the pipe is cut, use flux to clean the cut area. This is necessary to ensure a proper bond between the two pieces. Next, heat the pipe ends with a torch. The heat should be just enough to cause the flux to bubble. After that, use a wrench to tighten the coupling and secure the two sections of the pipe. Finally, solder the joint together to create a seamless connection. By following these steps, you can easily fix a severed copper pipe.
Maintaining Copper Pipes to Prevent Future Issues
Copper pipes have been a fixture of plumbing systems for years, providing a durable and reliable piping system. Unfortunately, due to its age, copper pipes can eventually start to degrade and cause issues like water leaks. Knowing how to fix copper pipes is an important part of maintaining your plumbing system and preventing future issues. To begin, it’s important to understand the different ways to fix copper pipes.
The most common way to fix copper pipes is with soldering. This process involves applying a special type of metal tape around the pipe to create a seal and then welding the pipe with a torch. While this is an effective way to fix the pipe, it can be dangerous and should only be done by a professional.
Another way to fix copper pipes is with epoxy putty. This is a special type of putty that can be applied to the pipe and then formed into a seal. While this is a much simpler and safer way to fix the pipe, it is not as reliable as soldering.
Finally, pipe clamps are an effective way to fix copper pipes. This method involves using a special type of clamp to hold the pipe in place and then using a sealant to seal the joint. This method is relatively easy to do and provides a reliable seal.
No matter which method you choose to fix copper pipes, it’s important to remember that regular maintenance is key to keeping your plumbing system working properly. Check for signs of damage regularly and make sure to address any issues as soon as possible. With the right care, your copper pipes can stay in great condition for years to come.
FAQs About the How Do You Fix Copper Pipes?
Q1: What tools do I need to fix a copper pipe?
A1: You will need a pipe cutter, a pipe reamer, an adjustable wrench, a hacksaw, and a soldering torch.
Q2: How do I know if I need to replace the pipe or just repair it?
A2: If the copper pipe has corrosion, is leaking, or is clogged, you may need to replace it. If it is not leaking, and is not corroded, it may be possible to repair the pipe.
Q3: What type of solder should I use?
A3: You should use a lead-free solder, as it is the safest option. Make sure you use flux paste to ensure a secure connection.
Conclusion
To fix copper pipes, you can use a range of methods depending on the severity of the problem. Soldering is typically used to patch small holes or to join two pipes together, while larger holes may require a patch or sleeve fitting. You can also use a sealant or epoxy to fix small holes or to repair small cracks. Lastly, you can replace the entire section of pipe if the damage is too severe. No matter the type of repair, it’s important to use the correct tools and techniques to ensure the repair is reliable and safe.