How To Install Water Softener Pre-plumbed?
Installing a pre-plumbed water softener system is a relatively straightforward process. It is a great way to improve the quality of your home’s water and preserve the life of your appliances. The process involves connecting the pre-plumbed water softener to the household’s existing water pipes. Depending on the type of water softener you have, installation may require a few steps such as connecting the power, mounting the control valve, and connecting the drain line. This guide will provide a step-by-step overview of the process and the materials you will need.
What is a Water Softener?
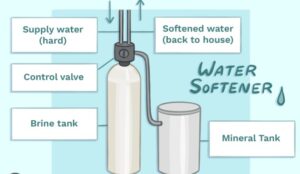
A water softener is a device that is used to soften hard water. It works by removing magnesium and calcium ions from the water, which are the main components responsible for making water hard. This process is called ion exchange, and it results in water that is much more pleasant to use for drinking, bathing, and cleaning purposes. Installing a water softener can be a great solution for homeowners looking to improve the quality of their water. Pre-plumbed water softeners are becoming increasingly popular, as they are much easier to install than a traditional softener. This article will discuss how to install a pre-plumbed water softener in your home.
What are the Benefits of Installing a Water Softener?
Installing a water softener can be an effective way to reduce the amount of hard minerals in your water supply. Hard water can cause a wide variety of problems, from reduced water pressure to limescale buildup and staining on fixtures and appliances. A water softener can help to combat these issues and can provide numerous additional benefits.
The most obvious benefit of installing a water softener is that it can help to reduce hard water buildup, which can cause various plumbing issues. Hard water can lead to limescale buildup in pipes, which can reduce water pressure, and it can also cause staining and corrosion in fixtures and appliances. In addition, hard water can cause soap to be less effective, leaving a residue on bathtubs and sinks. Installing a water softener can help to avoid these problems.
Another benefit of a water softener is that it can help to extend the lifespan of your plumbing system and fixtures. By reducing limescale buildup, it can help to reduce the wear and tear on pipes and fixtures, and it can also help to reduce the risk of corrosion and staining. In addition, a water softener can help to reduce the amount of soap and detergent needed for cleaning, since it allows the soap to work more effectively.
Finally, installing a water softener can provide a number of health benefits. Hard water can contain higher levels of minerals, such as calcium and magnesium, which can be beneficial for some people. However, for others, it can lead to skin irritation and other health issues. By installing a water softener, it can help to reduce these issues and provide healthier water for your home.
With all of these benefits, it is easy to see why installing a water softener can be a worthwhile investment. Not only can it help to reduce hard water problems, but it can also help to extend the lifespan of your plumbing system and fixtures, as well as provide various health benefits. If you are considering installing a water softener, the pre-plumbing process is relatively straightforward and can be done by an experienced professional.
What is Pre-plumbing and What do You Need to Pre-plumb a Water Softener?
Pre-plumbing a water softener is an essential practice that involves preparing or modifying the existing plumbing system for installing a water softener. Pre-plumbing a water softener is a relatively simple process that requires a few key materials and some basic plumbing skills. It is important to properly pre-plumb a water softener to ensure optimal performance and longevity.
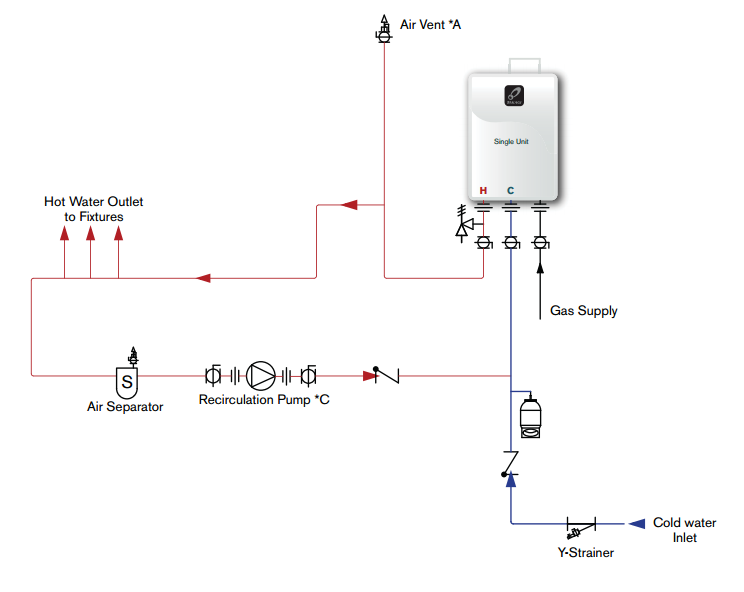
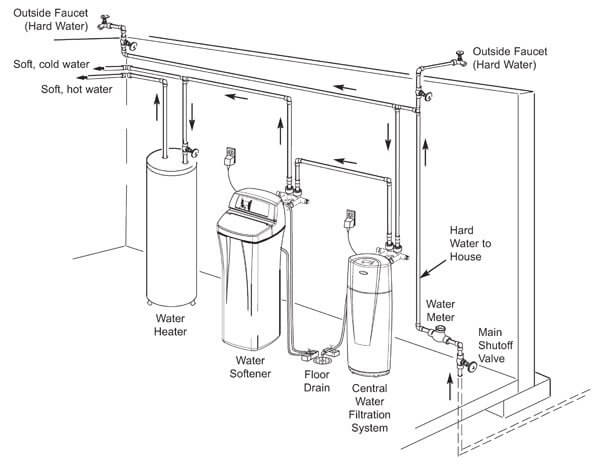
Before beginning the installation process, it is important to understand the basics of pre-plumbing and the supplies you will need to complete the installation. Pre-plumbing involves connecting the water softener to the existing plumbing system. This includes connecting the inlet and outlet valves of the softener to the existing pipes, as well as the drain line and the bypass valve.
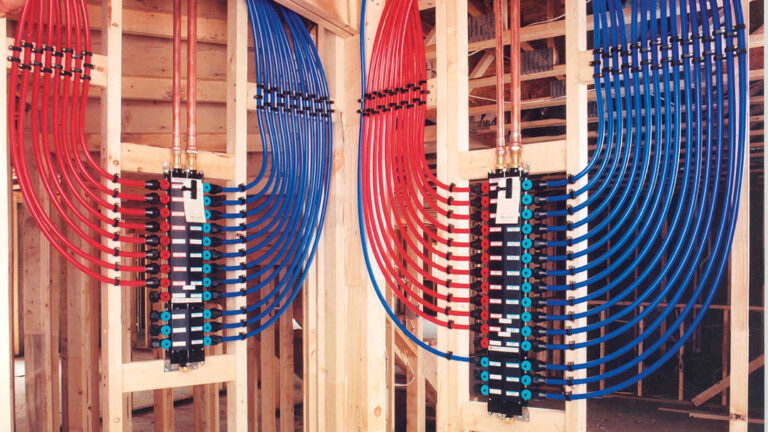
The supplies you will need for pre-plumbing a water softener include pipe fittings, such as PEX or PVC, a shutoff valve, a drain line, and a bypass valve. You will also need a few basic tools, such as a pipe wrench and a screwdriver. It is important to have all of the necessary supplies and tools on hand before starting the installation process.
Pre-plumbing a water softener is a straightforward process that requires minimal effort and skills. When done correctly, it helps to ensure optimal performance and longevity of the water softener. It is important to understand the basics of pre-plumbing and to have all of the necessary supplies and tools ready before beginning the installation process. Following these steps will help to ensure that the water softener is correctly pre-plumbed and ready for use.
How to Install a Water Softener Pre-plumbed?
Installing a water softener pre-plumbed is a cost-effective, time-saving way to ensure that your home or business receives the best quality water. While it may seem complicated at first, the pre-plumbed installation process is relatively straightforward and can be completed in a few simple steps. By following these steps, you can easily install a water softener pre-plumbed and enjoy the benefits of soft water.
The first step in installing a water softener pre-plumbed is to determine the location of the water softener. Pre-plumbed water softeners are typically installed near the water main, so you’ll need to locate this first. Once you’ve determined the location, you’ll need to gather the necessary materials and tools for the installation. This includes a water softener, fittings, plumbing supplies, and any other necessary tools.
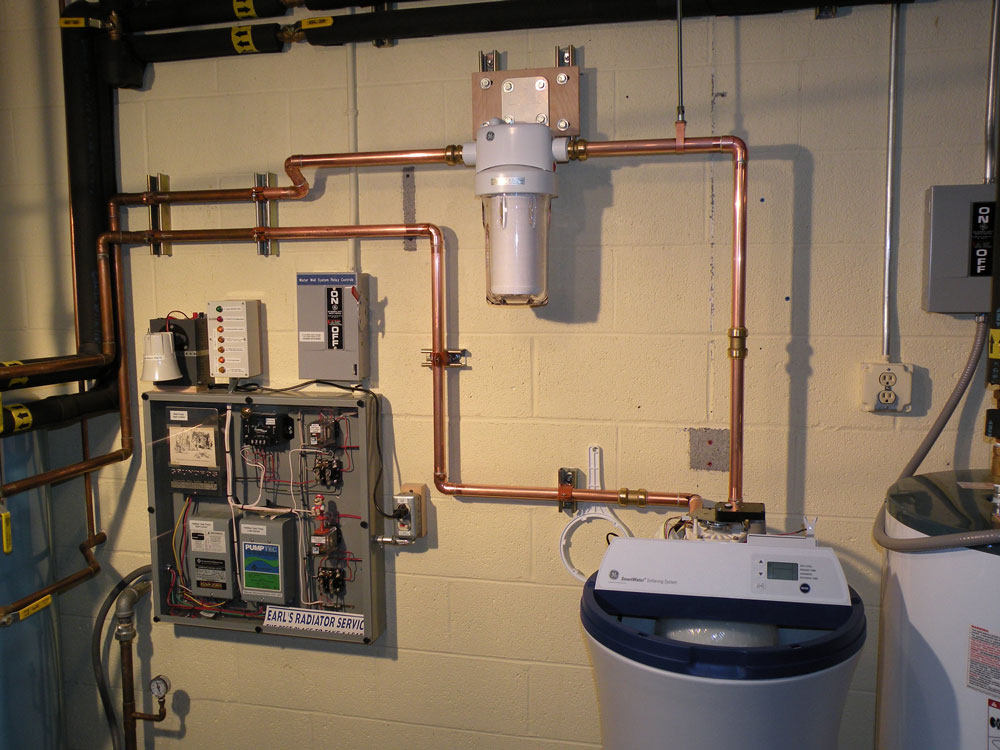
Next, you’ll need to install the water softener. This involves connecting the softener to the water main, as well as any other necessary pipes. It’s important to use the correct fittings and plumbing supplies during this process to ensure that the installation is leak-free. Once the water softener is securely installed, you can move on to the next step.
The last step in the pre-plumbed installation process is to program the water softener. This involves setting the water hardness levels, choosing the right regeneration cycles, and setting the water filter type. Once the programming is complete, you can test the water softener to ensure that it is working properly.
Installing a water softener pre-plumbed is a great way to ensure that your water is of the highest quality. By following the steps outlined above, you can easily install a water softener pre-plumbed and enjoy all the benefits of soft water.
Troubleshooting Tips for Installing a Water Softener Pre-plumbed
Installing a pre-plumbed water softener system is a great way to improve the water quality of your home. But, troubleshooting the installation process can be a daunting task. To help you troubleshoot any potential issues, here are some useful tips for installing a water softener pre-plumbed.
First, make sure you have all the necessary equipment to properly install the water softener system. This includes the water softener, the appropriate pipes and fittings, a pressure regulator, a shutoff valve, and other necessary components. It’s also important to use the correct size pipes and fittings when installing the water softener.
Second, make sure the water flow is sufficient for the water softener to work properly. If the water pressure is too low, the water softener may not function correctly. To ensure the water flow is sufficient, use a pressure regulator on the water supply line.
Third, make sure to connect the water softener to the correct water lines. This includes the hot and cold water supply lines, the drain line, and the discharge line. Properly connecting the water softener to the water supply lines will ensure that the water softener works correctly.
Finally, make sure to test the water softener after the installation. Testing the water softener will help you identify any potential problems and ensure that the water softener is working correctly.
These tips will help you troubleshoot any potential issues when installing a water softener pre-plumbed. Following these steps will help you ensure that your water softener is installed correctly and will provide you with clean and soft water for years to come.
FAQs About the How To Install Water Softener Pre-plumbed?
1. What is the difference between a pre-plumbed water softener and a non-pre-plumbed water softener?
Answer: A pre-plumbed water softener is a complete system that is ready to be installed and comes with all the necessary pipes and connections already connected. A non-pre-plumbed water softener requires additional connections to be made before installation.
2. What tools are necessary to install a pre-plumbed water softener?
Answer: Generally, all you need to install a pre-plumbed water softener is an adjustable wrench, plumber’s tape, and some penetrating lubricant.
3. How long does it take to install a pre-plumbed water softener?
Answer: The installation time for a pre-plumbed water softener will vary depending on the size and complexity of the system, but it typically takes around 1-2 hours.
Conclusion
Installing a water softener pre-plumbed can be a great way to add soft water to your home. This can help to reduce the amount of hard water buildup in your pipes and fixtures, as well as improve the overall taste of your water. It is important to understand the correct steps to take when installing a pre-plumbed system, such as measuring the space for the unit, making sure you have the proper supplies, and understanding how to connect the plumbing. With the right preparation and knowledge, installing a water softener pre-plumbed can be a straightforward process.