How To Plumb A Freestanding Tub?
Plumbing a freestanding tub is an essential part of any bathroom remodel. Freestanding tubs are a great way to add a luxurious touch to your bathroom and provide a more comfortable bathing experience. However, plumbing a freestanding tub requires some expertise and knowledge of plumbing systems. This guide will provide you with step-by-step instructions on how to properly and safely plumb a freestanding tub. With the right know-how, you can make sure your tub is installed correctly and your bathroom is ready to enjoy.
Gather Necessary Tools and Materials
Plumbing a freestanding bathtub can be a complicated and intimidating task. However, with the right materials and tools, it can be a simple and straightforward job. Before beginning, make sure you have all the supplies you need: a set of pipe wrenches, pliers, a hacksaw, a level, and a variety of plumbing supplies such as PVC fittings, P-traps, and other parts. Additionally, you’ll need a piece of plywood to support the tub, and a layer of rubber to protect it. It’s important that you get the right tools and materials before starting the project, as it will make the job much easier in the long run. Once you have everything you need, you’ll be well on your way to plumbing a freestanding tub.
Shut Off Water Supply
Plumbing a freestanding tub is not as complicated as it seems. After all, it’s just another fixture in your home that needs to be connected to the water supply. The first step in the process is to shut off the water supply to the area. This can be done by turning off the main water supply to the house or the individual valves where the fixtures are located. Once the water is shut off, you can begin the process of installing the freestanding tub. It is important to make sure that the valves are completely shut off so that no water will enter the freestanding tub while you are working on it. This is a key step in the process that should not be overlooked.
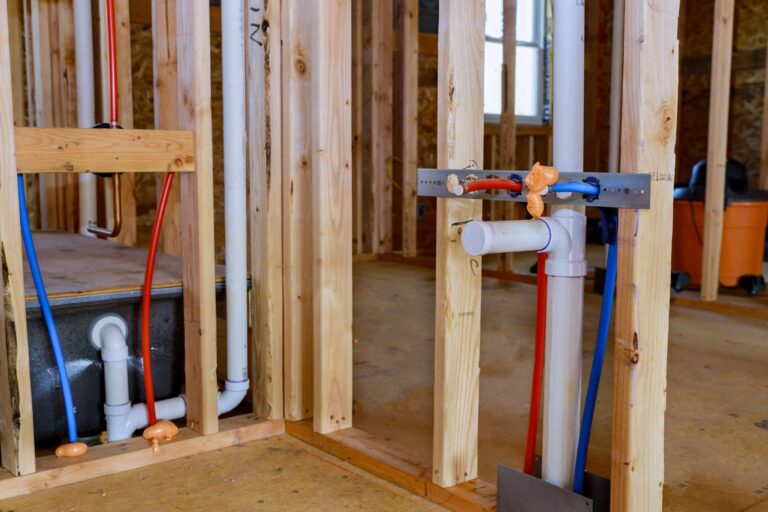
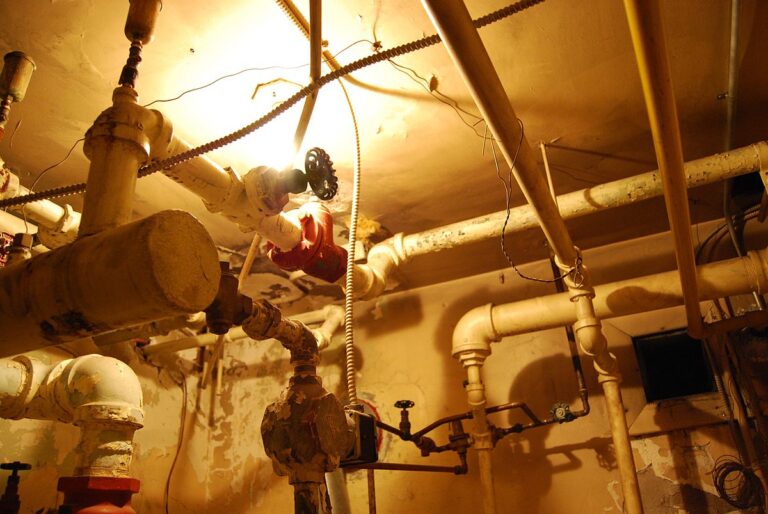
Install the Piping
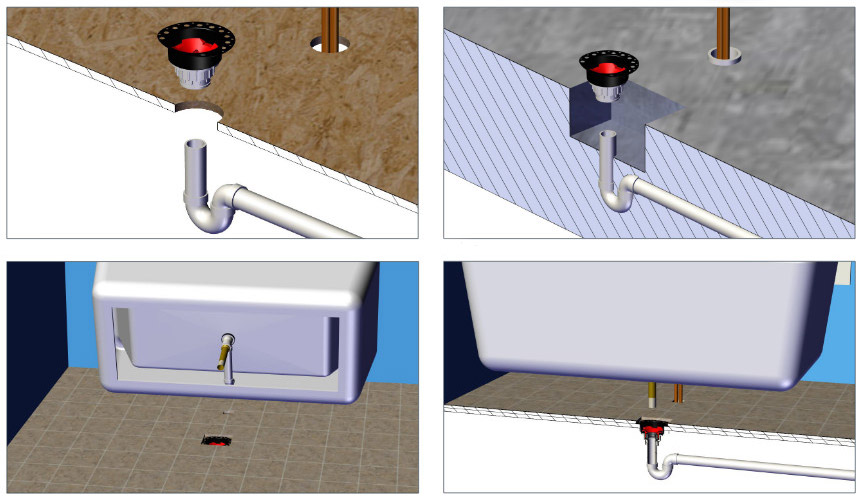
Plumbing a freestanding tub is a challenging yet rewarding task. After choosing the right materials, the next step is to install the piping. To do this, you’ll need to ensure that the plumbing is properly fitted and connected to the main water supply. It is important to use the right grade of pipes, fittings, and valves to ensure that your tub will have a long life. Additionally, depending on the type of tub, you may need to install a drain, overflow, and/or water supply lines.
When installing the piping, be sure to follow the manufacturer’s instructions and use the appropriate materials and tools. Make sure to use teflon tape or pipe joint compound on all threaded fittings for a tight seal. Also, take extra care when installing the drainpipe as it must be correctly positioned and secured in order to avoid future leaks. Once all the piping is installed and connected, you can move on to testing the system to make sure everything is in working order.
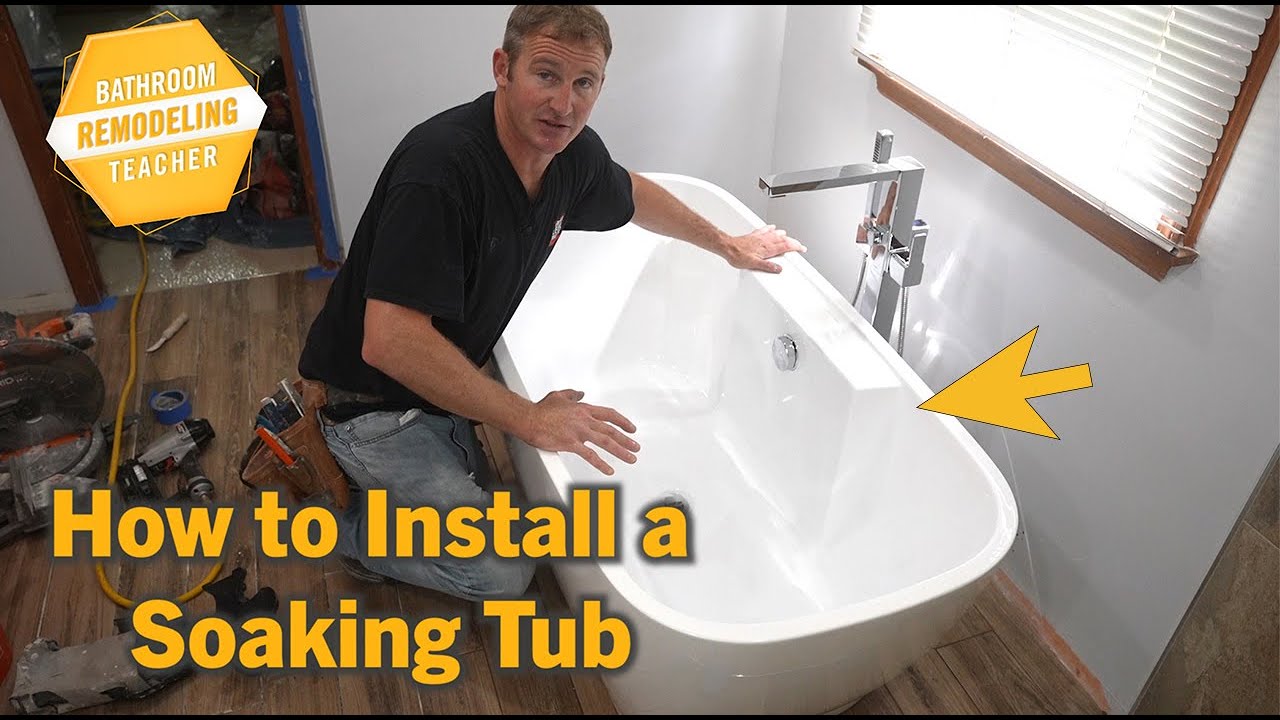
Install the Faucet and Drain
Installing a faucet and drain on a freestanding tub can be a daunting task for any homeowner. However, with the right tools and a bit of know-how, it can be a straightforward job. First, the faucet needs to be attached to the tub. This is done by drilling holes in the tub and securing the faucet with nuts and washers. Next, the drain needs to be installed. This is typically done by creating a hole in the tub and inserting the drainpipe. Finally, the drainpipe needs to be connected to the plumbing system and secured with a compression fitting. Once this is done, the tub is ready to be filled with water and enjoyed. With the right tools, the proper technique, and a bit of patience, any homeowner can successfully plumb a freestanding tub.
Test the System
Once you have installed your freestanding tub, it is essential to test the system and ensure that it is working properly. To do this, you will need to turn on the water and check for leaks or any other irregularities. It is also important to check the temperature of the water as it should not be too hot or too cold. If there are any issues, make sure to address them immediately to prevent any further damage from occurring. Additionally, it is important to inspect the pipes and fittings to make sure that they are secured properly and that they are not leaking. Lastly, make sure to check the drainage to ensure that it is working as it should and that there are no blockages. By testing the system, you can ensure that you have installed your freestanding tub correctly and that it is safe to use.
Finishing Touches
After mastering all the plumbing basics and successfully installing your freestanding tub, the last step is to finish the plumbing job. Finishing touches are as important as the plumbing itself, and they can bring the whole project together. Finishing touches include installing drain covers and p-traps, connecting the tub to the water supply, and connecting the water supply to the wall and floor drain. Additionally, you may need to install other fixtures, such as a shower head, a shut-off valve, or a water filter. Finally, you must ensure that all the pipes and fixtures are properly sealed. Once all of these tasks have been completed, your freestanding tub is ready to be used. By following the above steps, you can confidently and successfully install a freestanding tub in your home.
FAQs About the How To Plumb A Freestanding Tub?
1. Is it necessary to use a professional plumber to install a freestanding tub?
No, it is possible to install a freestanding tub without the help of a professional plumber. However, it is important to ensure that the installation is done properly in order to avoid any water leaks or other plumbing issues.
2. What are the steps involved in plumbing a freestanding tub?
The steps involved in plumbing a freestanding tub include connecting the water supply lines, installing the drain and overflow assembly, connecting the supply lines to the shut off valves, and testing the pipes for any leaks.
3. What type of tools and materials are needed to install a freestanding tub?
The tools and materials needed to install a freestanding tub include a wrench set, pipe cutter, PVC glue, PVC primer, and a variety of fittings. Additionally, you may need a plumber’s snake, screwdriver, and drain assembly kit.
Conclusion
Plumbing a freestanding tub can be a tricky process, especially if you are not familiar with plumbing. However, with the right materials, tools, and knowledge, it is possible to properly plumb a freestanding tub. Make sure to double check your work and follow all safety measures before starting the project. With a little bit of patience and effort, you will be able to successfully plumb your freestanding tub and enjoy it for years to come.