How To Repair A UPVC Pipe?
UPVC (Polyvinyl chloride) pipes are one of the most used materials in plumbing and drainage systems because of their low cost and excellent durability. However, like with any pipe system, problems can arise. If you find yourself with a UPVC pipe that needs repair, then this guide will provide you with the necessary steps to get the job done quickly and correctly. We will go over how to identify the issue, the best tools to use, and how to make the repair. With these steps, you will be able to quickly and safely repair any UPVC pipe.
What Causes Damage To UPVC Pipes?
UPVC pipes are widely used in plumbing and construction due to their high durability and low maintenance requirements. However, even the most robust pipes can suffer damage from time to time, and it is important that you know what can cause damage to UPVC pipes. Common causes of UPVC pipe damage include improper installation, exposure to extreme temperatures, UV radiation, and physical impacts.
Improper installation is a common cause of UPVC pipe damage. If the pipes are not properly fitted together and sealed, water can leak out, leading to weak spots and cracks in the pipes. Exposure to extreme temperatures, either from the environment or from hot water supply, can cause the pipe to become brittle and eventually split. UV radiation from direct sunlight can also cause damage to the pipe by breaking down the material. Lastly, physical impacts can cause cracks or breaks in the pipe due to direct contact with heavy objects or tools.
It is important to identify the cause of the damage to your UPVC pipe so you can take the appropriate steps to repair or replace it. Knowing what can cause damage to UPVC pipes can help you take preventative steps to ensure your pipes remain in top condition.
Before You Begin: Assessing The Pipe Damage
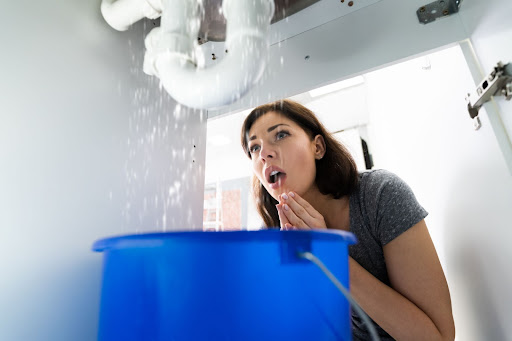
Before you can begin the repair process, it is important to assess the extent of the damage to the UPVC pipe. If the pipe is leaking, you may need to replace it instead of trying to repair it. If the pipe is cracked, you should be able to repair it easily. Inspect the area around the pipe to make sure it is stable and secure. If the area is too weak or the pipe is too damaged, it may be best to replace the entire pipe. If the damage is minimal, a repair may be possible. Before you begin, make sure you have all the necessary tools and supplies, such as a pipe cutter, sealant, and sandpaper.
Removing The Damaged Part
Removing the damaged part of your UPVC pipe is the first step in repairing it. This can be done by cutting the broken part out with a saw, hacksaw, or other suitable tool. Ensure to use protective equipment while cutting the damaged part out. You will want to measure the length of the pipe that needs to be replaced and then cut the new piece of pipe to the same length as the old one. Make sure to use a saw with a fine blade to prevent any damage to the new piece of pipe. Once the pipe is cut, it needs to be smoothed and sanded to ensure a proper fit. Finally, the last step is to glue the new piece of pipe in place. Make sure to use the right type of glue or solvent for the particular type of UPVC pipe you are working with. Follow the instructions on the adhesive to ensure a secure seal. After the adhesive has dried, your UPVC pipe should be as good as new.

Fitting The Repair Coupling
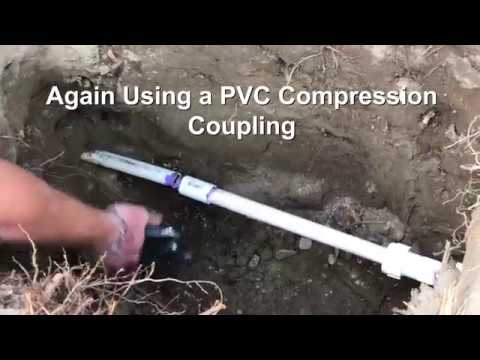
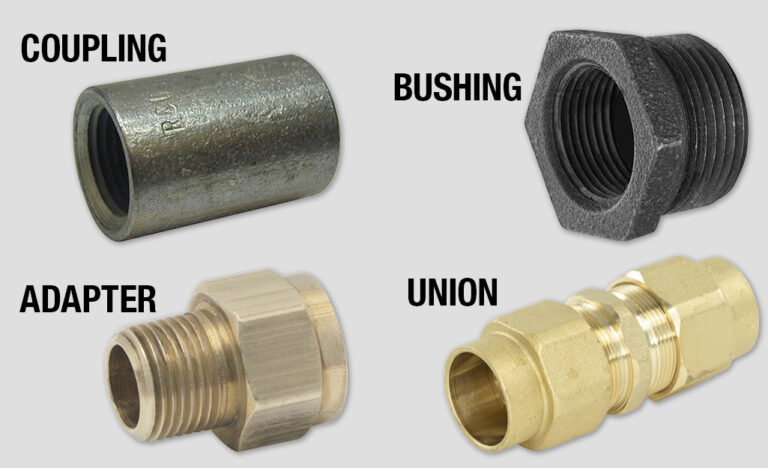
Repairing a UPVC pipe can be a tricky job. It requires a few specific tools and techniques to ensure a successful repair. One of the most important steps in this process is fitting the repair coupling. This is a special piece of plastic that connects two sections of pipe and is designed to seal leaks. It is essential to make sure that the coupling is correctly fitted in order to ensure a successful repair.
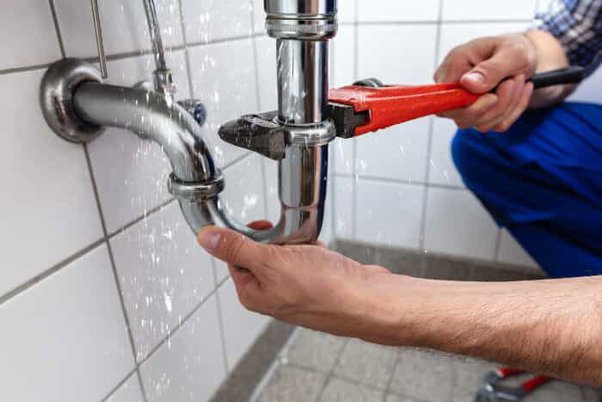
In order to fit the repair coupling, the two ends of the pipe must be cut off. This can be done with a hacksaw, a pipe cutter, or a sawzall. Once the ends of the pipe are cut, the repair coupling can be placed in the middle and screwed into place. It is best to use a pipe wrench to tighten the coupling as this will ensure that it is secure.
After the coupling is secured, the two ends of the pipe can be fitted back onto the coupling. It is important to ensure that the ends of the pipe are properly sealed with a bonding agent, such as an epoxy-based sealant, to prevent any further leaks. Once the ends of the pipe are secured, the repair is complete.
Fitting the repair coupling is an important step in repairing a UPVC pipe. It is essential to make sure that the coupling is correctly fitted in order to ensure a successful repair. With the right tools and techniques, a UPVC pipe can be repaired quickly and easily.
Testing The Pipe For Water Tightness
If you have a UPVC pipe that needs to be repaired, the first step is to test the pipe for water tightness. This is an important part of the repair process because it will help you identify the specific source of the leak and determine the best repair method. In order to test your pipe, you’ll need to turn off the water supply and fill the pipe with water. Once the pipe is filled, you can use a water pressure gauge to measure the pressure inside the pipe. If the pressure drops, then you have identified the leak and can move forward with the repair. If the pressure does not drop, then the pipe is watertight. It’s important to note that this test only works if the pipe is filled with water – it won’t work if the pipe is empty. Once you have tested the pipe for water tightness, you can move forward with the repair process.
Tips For Maintaining Your Pipes
Maintaining your UPVC pipes is an important part of keeping your home functioning properly and safely. If not properly cared for, they can become clogged, cracked, and otherwise damaged, leading to costly repairs and potentially hazardous water leaks. Fortunately, there are some simple tips and tricks you can follow to keep your UPVC pipes in tip-top shape. To ensure that your plumbing system remains efficient and reliable, here are some tips for maintaining your UPVC pipes.
First, it is important to regularly inspect your UPVC pipes for any signs of corrosion, cracks, or other damage. If you notice any issues, it is best to have them fixed as soon as possible to prevent further damage. Additionally, it is important to use the correct cleaning products when cleaning your pipes to avoid damaging them. To reduce the risk of clogging, make sure to regularly flush your pipes with hot water. Lastly, to prevent further problems, it is important to have your pipes inspected and serviced by a professional every few years.
By following these simple tips, you can ensure that your UPVC pipes are in good condition and working properly. If you notice any signs of damage or notice anything that doesn’t seem quite right, contact a professional plumber immediately to have it fixed. With proper maintenance and care, your UPVC pipes will remain healthy and reliable for years to come.
FAQs About the How To Repair A UPVC Pipe?
Q: What is the best way to repair a UPVC pipe?
A: The best way to repair a UPVC pipe is by using a patch kit. Patch kits contain specialized adhesive, which provides a strong seal that can withstand the pressure of water flowing through the pipe.
Q: What tools are needed to repair a UPVC pipe?
A: You will need a utility knife, a hacksaw, a putty knife, a patch kit, and a PVC primer.
Q: How long does it take to repair a UPVC pipe?
A: Depending on the extent of the damage, it can take anywhere from 30 minutes to several hours to repair a UPVC pipe.
Conclusion
Repairing a UPVC pipe is quite a simple process. The steps to follow are to first identify the problem, then locate the exact spot where the repair needs to be made, and then cut the pipe to make the necessary repairs. Once the pipe is cut, the appropriate sized repair pieces should be used, and then these pieces should be glued together to make the repair. Finally, the pipe should be checked to make sure the repair is secure and that no air is escaping. With the right tools and a little bit of knowledge, anyone can fix a UPVC pipe.

