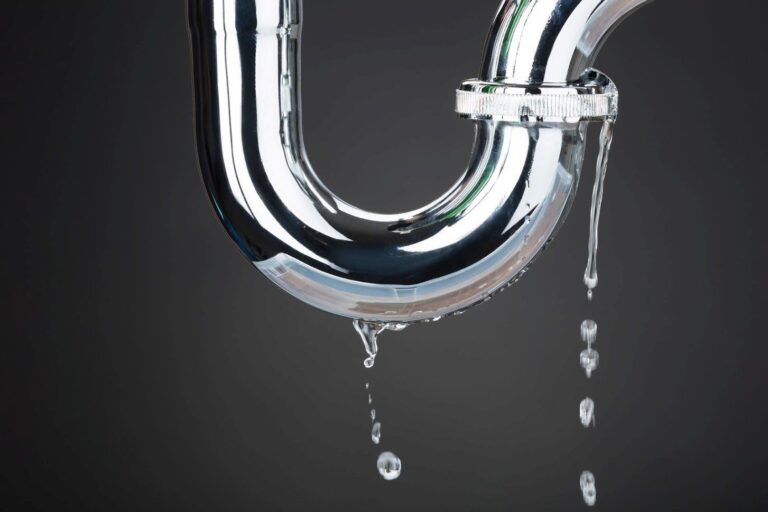
How To Test Plumbing For Leaks?
Testing plumbing for leaks is an important step in keeping pipes in a home or commercial building in good condition. Leaks can cause major damage to the structure of the building and can be expensive to repair. It is important to regularly check for leaks and take action to prevent them. This guide will provide information on how to test plumbing for leaks and what to do if a leak is found.

Preparing for a Plumbing Leak Test
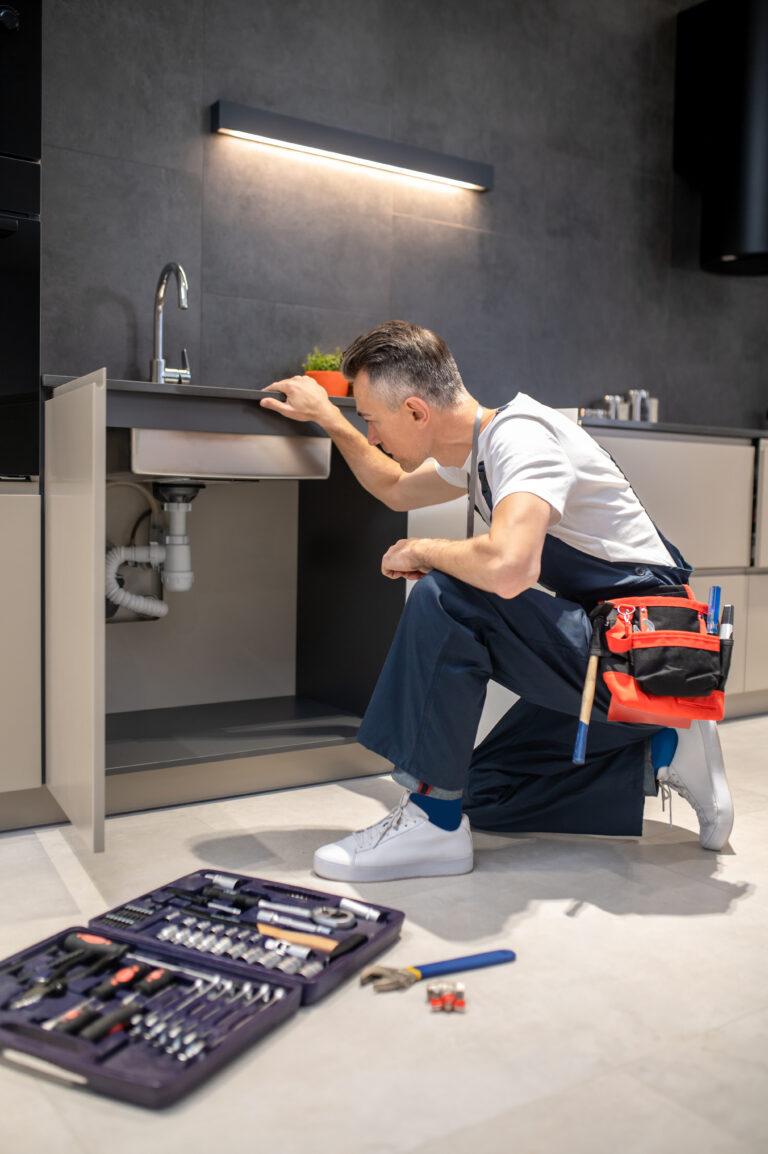
Preparing for a plumbing leak test is an important step in ensuring your plumbing system is functioning properly. Regularly testing your plumbing system can help you identify problems before they become too serious, saving you both time and money. To get ready for a plumbing leak test, it is important to ensure all fixtures and pipes are properly connected and secured. Additionally, it is important to check for any visible signs of water damage, as this could indicate a leak. Once your plumbing system is ready, you can then use a variety of methods to detect any potential leaks. Taking the time to properly prepare for a plumbing leak test will help you identify any potential issues and save you from costly repairs down the line.
Identifying Potential Leak Sources
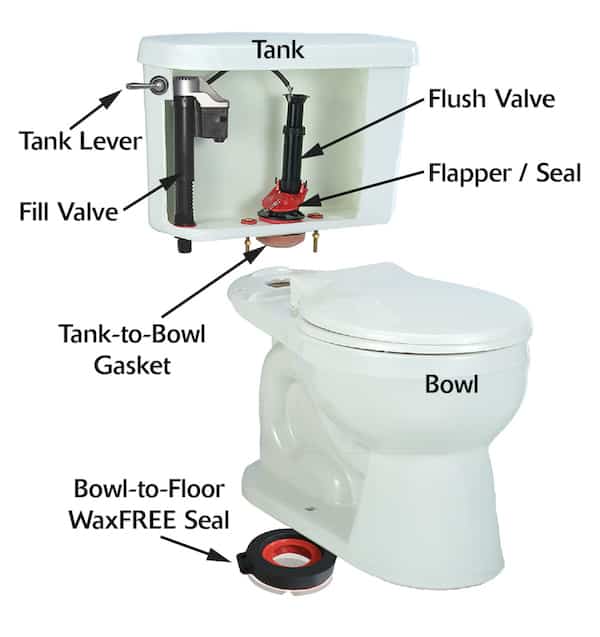
The process of identifying potential leak sources can be daunting, but it is a critical step in any leak prevention plan. By taking the time to thoroughly identify potential sources of a leak, you can prevent a costly incident and save money in the long run. It is important to remember that leaks can come from many sources, such as ruptured pipes, faulty valves, and corroded joints. Additionally, a thorough inspection of the surrounding area, including the soil and buildings, may reveal other potential sources such as nearby construction sites. By taking a proactive approach to identifying potential sources of leaks, you can prevent a costly incident and ensure the safety of your property and the environment.
Conducting a Water Pressure Test
Conducting a water pressure test is a straightforward process that can be easily done by any homeowner. It involves using a pressure gauge to measure the amount of water pressure in your pipes. The results of the pressure test can help you identify any potential problems with your plumbing system, such as leaks or blockages, and allow you to take corrective action. Knowing the water pressure in your pipes is essential for ensuring that your entire plumbing system is functioning correctly. With a quick and easy test, you can help keep your home safe, comfortable, and free of plumbing-related issues.
Detecting Leaks with a Moisture Meter
Leaks can cause costly and time-consuming damage to your home. To quickly and accurately detect the location of leaks, use a moisture meter. These devices measure moisture levels and can help you pinpoint the source of a leak. You can also use a moisture meter to determine if your walls, floors, and ceilings are dry and free of moisture. With a moisture meter, you can detect leaks before they become a serious problem and save yourself time and money in the long run.
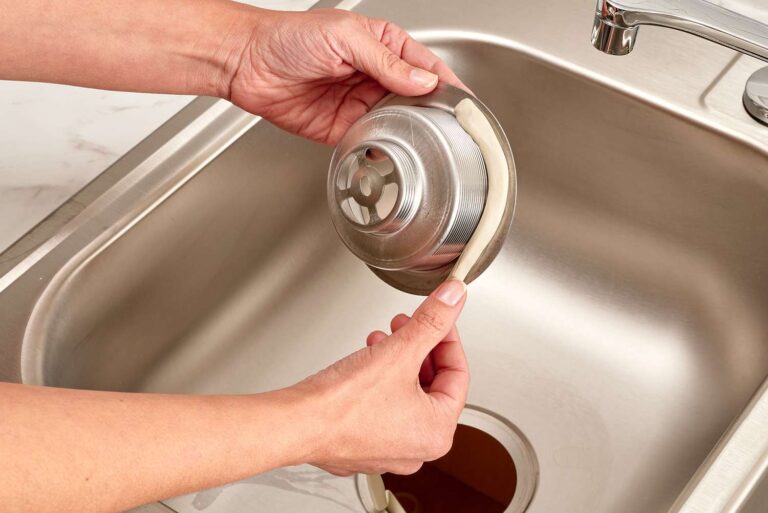
Locating Leaks with a Visual Inspection
A visual inspection is an effective and cost-efficient way to uncover water leaks. By visually inspecting a property’s plumbing system, you can quickly identify any potential leaks and take the necessary steps to repair them. With a visual inspection, you can examine the entire system including pipes, faucets, and fittings, ensuring all components are in good condition and functioning properly. Additionally, a visual inspection allows you to identify any signs of corrosion and check for any possible areas of weakness that may be prone to leaking. With the help of a professional, you can detect, locate, and repair any water leaks in your plumbing system, ultimately saving you money and preserving the integrity of your home or business.
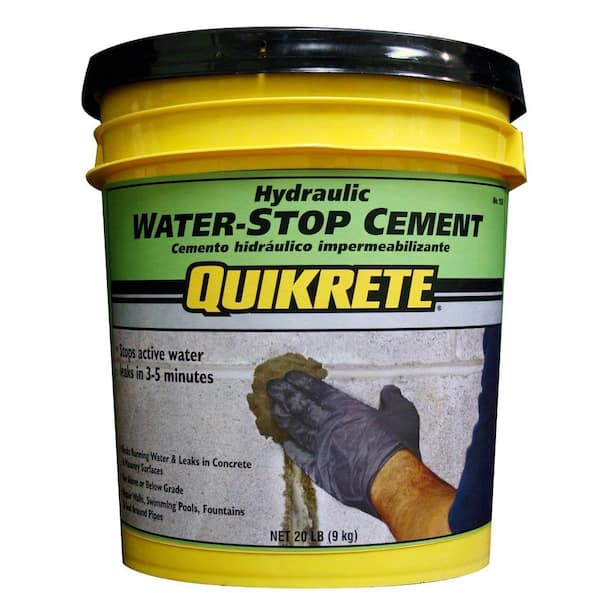
Taking Preventive Measures to Avoid Plumbing Leaks
Having a plumbing leak in your home can be a stressful and expensive issue to deal with. Taking preventive measures to avoid plumbing leaks is the best approach to ensure your home remains free from costly water damage. Regularly inspect your pipes for signs of wear and tear, and look out for any discoloration, as this may signify a slow leak. Be sure to check for any signs of corrosion, as this can cause significant damage to the structure of your pipes. Additionally, check the water pressure in your home to ensure it is not too high, as this can cause pipes to burst. Finally, clean out any clogged drains and replace any worn-out washers and seals, as these can often be the source of a leak. Taking preventive measures to avoid plumbing leaks is the best way to keep your home safe and secure.
FAQs About the How To Test Plumbing For Leaks?
1. What tools are needed to test plumbing for leaks?
A: Common tools used to test the plumbing for leaks include soap and water, a pressurized water testing device, a leak detection lamp, and a plumber’s snake.
2. How often should plumbing be tested for leaks?
A: It is recommended to test plumbing for leaks at least once a year, or whenever there is a plumbing issue.
3. What should be done if a leak is detected?
A: If a leak is detected, the source of the leak should be identified and the appropriate repair should be made. It is also important to contact a qualified plumber if the issue is too complex to be handled on your own.
Conclusion
To test plumbing for leaks, the best option is to use a pressure test. This involves turning off the water and using a pressure gauge to measure the water pressure in the pipes. If the pressure drops below a certain level, it indicates a leak in the system. With the help of this method, you can easily detect and repair any leaks in the plumbing system and prevent costly repairs in the future.