How Do You Check For A Leakage Valve?
A leakage valve is a safety device that is used to detect and prevent the release of hazardous liquids and gases in industrial applications. Checking a leakage valve is an important part of an overall safety program and can help prevent serious accidents and injuries. The process for checking a leakage valve involves inspecting the valve for signs of wear or damage, as well as testing the valve with pressure or a flow meter to ensure that it is functioning correctly. Additionally, checking the valve periodically and replacing it when necessary can help ensure that it is working properly and providing the necessary protection.
What is a Leakage Valve?
A leakage valve is an important piece of equipment in many industrial, commercial, and residential settings. It is designed to regulate the flow of liquid or gas to ensure the safety and reliability of the system. A leakage valve is usually installed on the main line of a system, such as a gas line, and is designed to detect and control the flow of the liquid or gas. The purpose of the valve is to detect any abnormal pressure or flow within the system and to prevent any potential risks.
To check for a leakage valve, the first step is to inspect the system for any visible leaks. If any are found, then the valve should be checked and replaced if necessary. Additionally, the system should be checked for any physical damage, such as corrosion or cracks in the piping system. If any of these are present, then the valve should be inspected for proper operation. The valve should also be checked for any signs of wear and tear, such as rust or worn-out parts. Once the valve has been inspected, it should be tested to ensure that it is functioning properly.
Finally, the system should be checked for any other potential problems, such as blockages or corrosion in the piping system. If any of these are present, then the valve should be checked to ensure that it is functioning properly. By following these steps, you can ensure that your leakage valve is in top condition and is functioning properly.
Identifying a Leakage Valve
Leaks can cause significant damage to your property, so it is important to identify a leakage valve before it becomes an expensive problem. Knowing how to check for a leakage valve should be a part of your home maintenance routine. Here are some tips to help you identify a leakage valve and how to take corrective action.
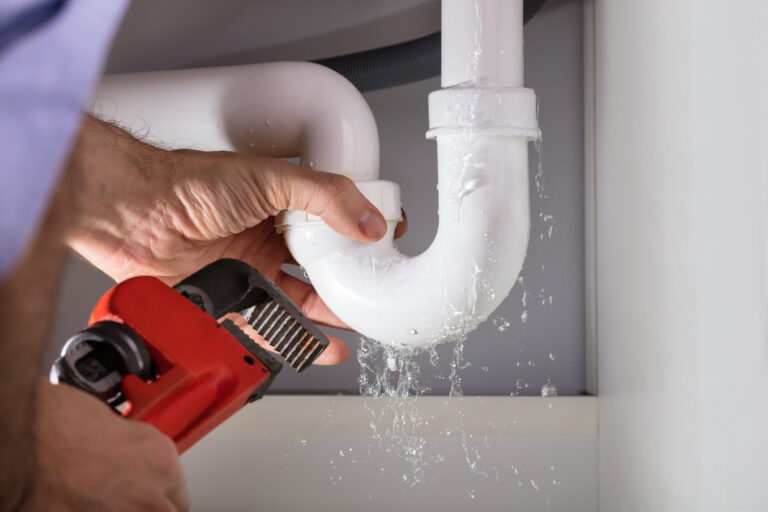
First, inspect the pipes and fittings for signs of corrosion or wear. Look for any discoloration or wet spots that could indicate a leaking valve. If you find any signs of a leak, then you should take steps to repair it as soon as possible.
Next, check the valve itself for any visible signs of damage. If the valve looks worn or corroded, then it is likely that it needs to be replaced. If the valve isn’t visibly damaged, then you can use a leak detector to check for a leak. A leak detector is a device that can detect small amounts of water or air leaking from a valve.
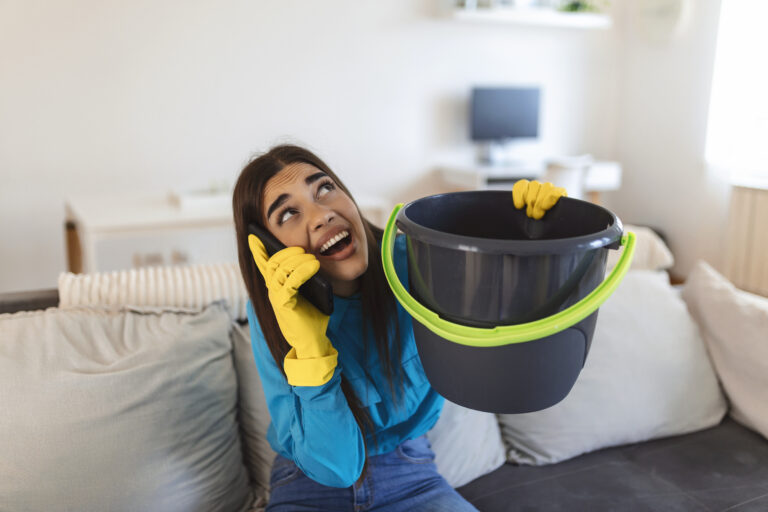
Finally, if you’re still having trouble locating the source of the leak, then you should consider calling a professional plumber. A professional plumber can help you find the leak and identify the cause of the problem, as well as recommend a course of action to fix it.
By following these tips, you can identify a leakage valve and take corrective action to prevent further damage. Regularly inspecting your pipes and fittings for signs of wear and taking prompt action if you find a leak can help you maintain a healthy home and avoid costly repairs.
Checking for Leaks in Your Valve
When it comes to maintaining your home or business’s plumbing system, one of the most important things to check for is a leakage valve. Leaking valves can lead to a whole host of problems, including expensive repairs and wasted water. Thankfully, it’s relatively easy to check for a leakage valve, and there are several methods you can use to do so.
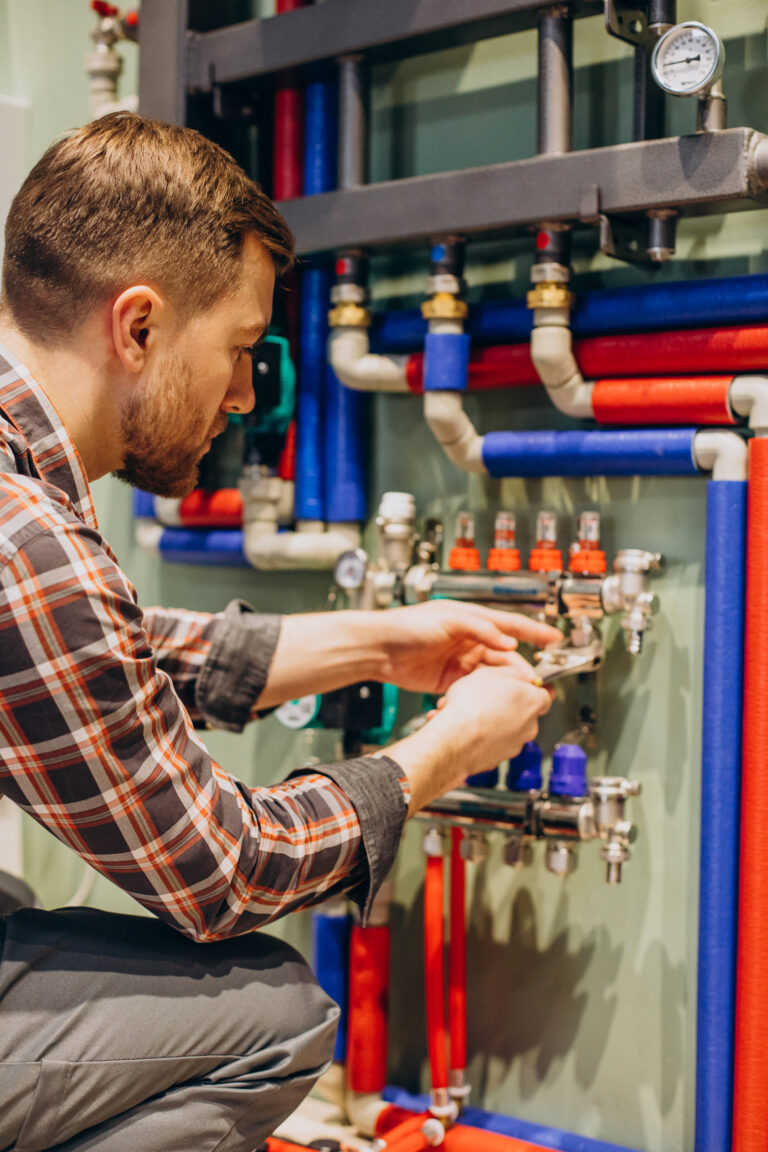
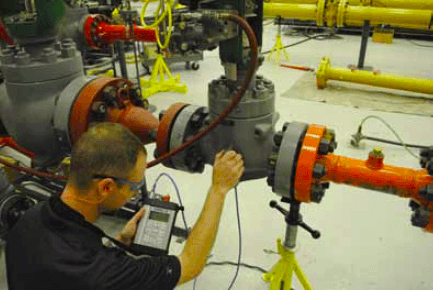
One of the most common methods for checking for leakage valves is by using a water pressure test. This is a simple process that can be done in your home or business. All you need to do is attach a pressure gauge to the valve and observe the reading. If the pressure is low, it may be indicative of a leak.
Another way to check for a leakage valve is to use a leak detection system. These systems are designed to detect the presence of water and alert you if a leak is detected. This method is especially helpful if you don’t have the time or resources to conduct a pressure test.
Finally, you can also use a visual inspection of the valve to check for signs of a leak. Look for any areas that are wet, or dripping, as well as any signs of corrosion or discoloration. These are all indicators that the valve may be leaking.
Checking for a leakage valve is an important part of maintaining your plumbing system and ensuring that it works properly. By using the methods outlined above, you can easily check for a leakage valve and take steps to fix it if necessary.
Tips for Leak Detection
Leaks in pipes or valves can be damaging and costly. To prevent this, it is important to regularly check for any signs of leakage. The most common way to detect a leak is by listening to a sound. If you hear a steady drip, this is usually a sign of a leak. Other signs may include damp spots on the walls or floors or an increase in your water bill.
If you suspect a leak, it is important to act quickly to prevent further damage. The first step is to find the source of the leak. This can be done by turning off the water supply to the house and then inspecting the pipes and valves. If you identify a leaking valve, it is important to fix it as soon as possible.
To fix a leaking valve, you will need to replace the valve or the washer. If the valve is damaged, it may need to be replaced completely. It is important to check that the new valve is installed properly to ensure that the leak is resolved. Additionally, it is important to regularly inspect valves and pipes for signs of wear and tear.
By regularly checking for signs of leaks, you can save yourself from costly repairs and prevent damage to your home. If you suspect a leak, it is important to act quickly to fix the issue and prevent further damage.
Preventing Leakage Valves from Damaging Your Home
If you own a home, you know that it’s important to check for leakage valves regularly. A leakage valve is a device that is designed to prevent water from entering your home or business, and if it fails, it can cause significant damage. Checking for a leakage valve is an important part of maintaining your home and keeping it safe from potential water damage.
To check for a leakage valve, the first step is to identify any potential sources of water that could be entering your home or business. This could include plumbing fixtures such as toilets, faucets, and showers. You should also inspect windows, doors, and other areas where water could enter. Once you’ve identified potential sources of water, you should inspect the area to see if there is any moisture present. If there is, then it’s likely that a leakage valve is present and needs to be checked.
The next step is to inspect the valve itself to ensure that it is functioning properly. This can be done by turning off the water supply and then checking the pressure gauge to make sure that it is not registering any pressure. If it is, then it’s likely that there is a leak somewhere. You should also check to see if the valve is clogged or blocked, as this can also cause a leak.
Finally, if you find any issues with the leakage valve, you should replace it immediately to prevent further damage. Replacing a leakage valve is not a difficult task, and it can be done quickly and easily. It’s important to remember, however, that it is always best to consult with a professional if you are unsure about how to properly check for and replace a leakage valve. By taking these simple steps, you can help ensure that your home or business is safe from potential water damage.
Troubleshooting Common Leakage Valve Issues
Leakage valves are an important component of any plumbing system, but they can also be a source of major headaches if they’re not working correctly. Fortunately, diagnosing and troubleshooting common leakage valve issues is relatively straightforward. In this article, we will discuss the various ways you can check for a leakage valve and how to resolve any issues you may encounter.
To start, there are several ways to test for a leakage valve. The most common is to turn the water on and off in the area of the suspected leakage valve. If the water stops flowing, then the issue is likely with the valve.
Another method is to use a pressure gauge. Pressure gauges measure the pressure of the water in the valve and can give you an indication of any kind of leakage valve issue.
Another option is to use a leak detector. Leak detectors are specially designed tools that can detect small amounts of water leaking through the valve. They are typically more accurate than pressure gauges and can help you pinpoint any potential issues.
Once you’ve identified any potential leakage valve issues, you can begin to troubleshoot them. In most cases, the issue will involve replacing the valve. However, if the issue is more complex, you may need to seek the assistance of a professional plumber.
No matter what kind of leakage valve issue you are facing, it’s important to take the necessary steps to fix the problem. In many cases, it is possible to resolve any issues on your own. However, if the problem is more complicated, it is always best to consult with a qualified plumber. With the right tools and know-how, you can easily identify and fix any leakage valve issues.
FAQs About the How Do You Check For A Leakage Valve?
Q1. What is a leakage valve?
A1. A leakage valve is a device used to control the flow of liquid or gas in a system. It is usually installed in systems that require precise control of the flow of a fluid to maintain a specific pressure.
Q2. How do you check for a leakage valve?
A2. The easiest way to check for a leakage valve is to monitor the pressure going into and out of the system. If the pressure is lower than expected, it could indicate a leak in the valve. Additionally, you can visually inspect the valve for any signs of leakage or damage.
Q3. What should you do if you find a leakage valve?
A3. If you find a leakage valve, you should immediately replace it with a new one. If the valve is beyond repair, you should contact a professional to fix the issue. Additionally, you should also check for any other potential leaks in the system to ensure that everything is working properly.
Conclusion
Checking for a leakage valve is a relatively simple process that can be completed with the proper tools and knowledge. By utilizing a pressure gauge, flashlight, and pipe wrench, you can verify that the valve is functioning properly and there are no leaks present. If any leaks are discovered, the valve should be immediately replaced. Regular inspections of your valves are recommended to ensure they are working properly and are not leaking.