How Do You Repair A Pipe Joint?
Repairing a pipe joint is a relatively simple process, but it is important to understand the basics of how it works and the tools needed to get the job done correctly. This process involves identifying the problem, preparing the pipe joint, and finally, using a range of tools and materials to repair the joint. Depending on the type of pipe joint, the repair process may involve soldering, threading, or using a specialized sealant. It is important to understand the specifics of the pipe joint in order to ensure a successful repair.
Identifying the Problem
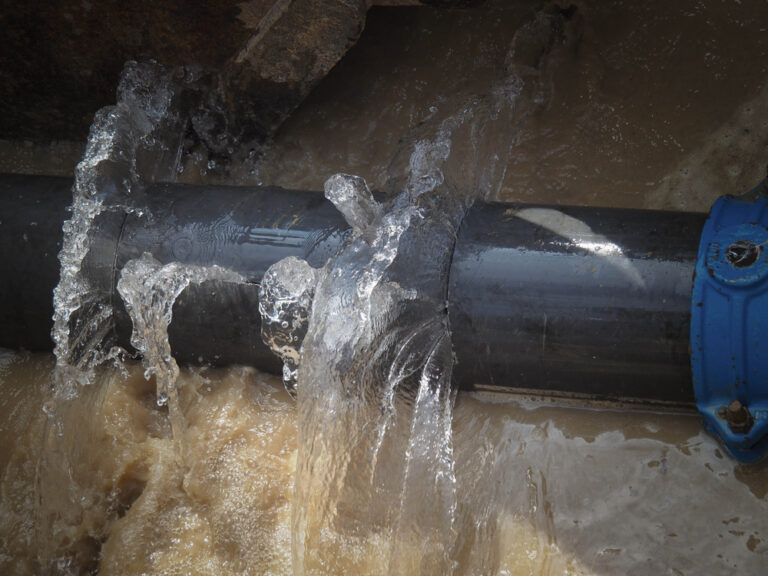
It’s important to first identify the issue with your pipe joint before you start to repair it. If you’re dealing with a leak, for example, you’ll need to determine if there is a crack in the pipe, a loose joint, or increased pressure that is causing the leak. Examine the joint carefully, and if you’re not sure what the issue is, consult an expert. Once you have identified the problem, you can begin determining the best repair solution.
Consider the material of the pipe, as different materials will require different repair methods. For metal pipes, you may need to solder the joint, while plastic pipes may require a patch or epoxy. Additionally, check to make sure there are no obstructions in the pipe, as this can cause additional problems. Finally, you should consider the size and complexity of the joint when choosing a repair method.
By properly identifying the issue with your pipe joint, you can ensure that you have the right tools and techniques to get the job done right. With the right approach, you can make quick, precise repairs that will stand the test of time.
Preparing the Area for Repair
Pipe joints are a vital part of any plumbing system, so it’s important to make sure they’re properly maintained and repaired when necessary. The process of repairing a pipe joint begins with proper preparation of the area surrounding the joint. This includes turning off the water supply, draining any water in the pipes, and cleaning the joint area. It’s important to make sure the pipe and joint are free of debris and corrosion before starting the repair process. This will help ensure that the joint is properly sealed and will last for a long time. Professional plumbers will also conduct a thorough inspection of the pipe joint before beginning the repair process, to ensure that it is structurally sound and ready for repair. Proper preparation of the area for repair is essential for a successful pipe joint repair.
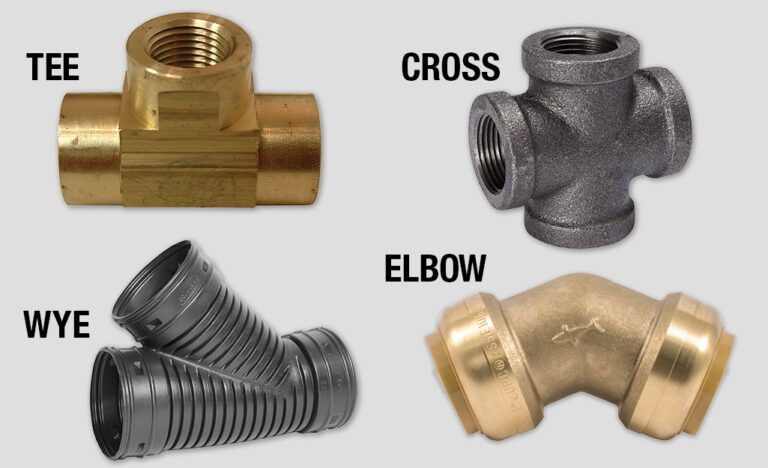
Types of Pipe Joints
Pipe joints are essential components of any plumbing system. There are several types of pipe joints available, and each one has its own advantages and disadvantages. The most common types of pipe joints include compression joints, threaded joints, flanged joints, and soldered joints. Compression joints are the simplest and most economical type of pipe joint and are typically used for interior water supply lines. Threaded joints can be used for both interior and exterior water supply lines and are great for connecting threaded fittings. Flanged joints are usually used for piping systems that require a higher degree of pressure protection and are commonly used in industrial settings. Finally, soldered joints are the most reliable type of pipe joint and are often used for copper piping systems.
When it comes to repair or maintenance of pipe joints, it’s important to choose the right type of joint for the job. Each type of joint has its own set of installation and repair instructions, so it’s important to follow the manufacturer’s instructions carefully. Compression joints are easy to repair, as they just require tightening the nut until the joint is snug. Threaded joints can be repaired by replacing the nut, washer, and sealant. Flanged joints can be repaired by replacing the gasket, nuts, and bolts. Finally, soldered joints should be repaired by a professional plumber as they require special skills and tools.
No matter what type of pipe joint you are repairing, you must always ensure that the joint is tight and secure on both sides before turning the water back on. By following these tips, you can ensure that your pipe joint repairs are done correctly and safely.

Selecting the Right Repair Method
Pipe joints are an essential part of any plumbing system, connecting pipes and allowing for fluid movement. When pipe joints become damaged or worn, it is important to repair them quickly and correctly to avoid further damage and costly repairs. Depending on the type of joint, there are several different methods for repairing a pipe joint. It is important to select the right one to ensure the joint is secure and won’t cause any additional problems.
For compression fittings, the most common type of pipe joint, a simple replacement is usually the best solution. It is important to select the right size and type of fitting for your pipe. If the fitting is too small or too large, it won’t be secure and may result in a leak. For threaded connections, a new coupling or sleeve can be used to reattach the joint. This type of repair is especially useful for galvanized pipe joints that are difficult to remove.
For other types of pipe joints such as flanged, welded, and soldered fittings, it is best to consult a professional plumber. These types of joints require specialized tools and techniques and should not be attempted by an inexperienced person. A professional plumber can assess the damage and determine the best course of action.
No matter what type of pipe joint you’re dealing with, it is essential to select the right repair method. This will ensure that the joint is secure and won’t cause any additional problems. If you’re unsure how to repair a pipe joint, it is best to consult a professional plumber who can help you select the best solution.
Executing the Repair
Pipe joints are an integral part of plumbing and can be found throughout homes and buildings. Properly installed and maintained, these joints can last for decades. But when a joint fails, it can cause serious damage, sometimes resulting in costly water damage repairs. Fortunately, it is possible to repair a pipe joint without the need for a professional plumber.
The first step in the repair process is to identify the source of the leak. This can be done by looking for water stains, wet patches, or a sound of running water. Once the leak has been identified, the area should be cleaned and dried before the repair begins. Then the damaged joint should be cut away and the new joint should be measured and cut.
The new joint should then be fitted and secured with a clamp. After the clamp is secured, the joint should be sealed with a sealing compound to ensure a watertight fit. Finally, the joint should be tested for leaks. If there are no leaks, the repair is complete.
By following the steps outlined above, repairing a pipe joint can be done easily and quickly. It is important to note that even with a successful repair, it is still recommended to consult a professional plumber if the pipe joint is still not functioning properly or if the repair was more complex. By following these steps, you can save money and ensure the repair is done correctly.
Testing the Repair Job
Testing the repair job is an important step in making sure that the pipe joint is properly repaired and functioning correctly. After the repair has been completed, the pipe joint should be tested for water tightness by running water through it. To do this, install a hose to one end of the pipe joint and the other end to a water source. Then, open the water source and observe the joint for any signs of leaking. If the joint does leak, it should be tightened further. If the joint is still not watertight, the pipe joint should be replaced. It is important to properly test the pipe joint for water tightness to ensure it works correctly and does not cause any further damage to the plumbing system.
FAQs About the How Do You Repair A Pipe Joint?
1. What kind of tools do I need to repair a pipe joint?
You will need a pipe wrench, slip joint pliers, silicone caulk, and a pipe cutter.
2. How do I know if a pipe joint needs to be repaired?
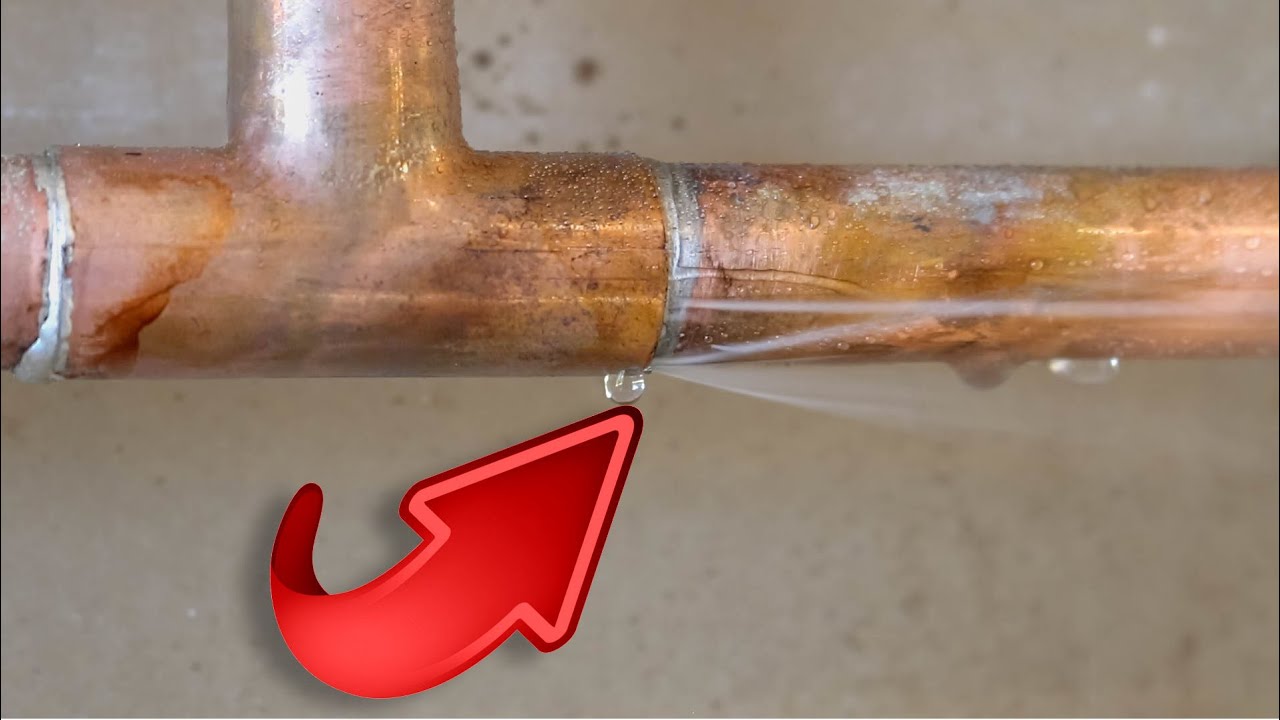
Look for signs of water leakage or corrosion around the joint. If you can see any water dripping from the joint, it is likely time for a repair.
3. What material should I use when repairing a pipe joint?
You should use a strong sealant such as silicone caulk to ensure a tight seal and a long-lasting repair.
Conclusion
Repairing a pipe joint can be a straightforward task if you have the right tools and knowledge. If you don’t feel confident repairing the pipe joint yourself, it is best to call a professional plumber to ensure the job is done correctly. With the right preparation, the right tools, and a bit of patience, you can easily repair a pipe joint and get your plumbing system back up and running.